Showing posts with label Vegetarian. Show all posts

Tomato-Spinach-Dill Quiche w/ Potato Crust

FRIDAY, AUGUST 20TH, 2010

4 stars (out of 5)

I found this recipe on the same blog as the salad from the previous entry for the spinach salad (http://fortheloveofcooking-recipes.blogspot.com/2010/06/tomato-spinach-and-dill-quiche-with.html). The blogger looks like she has some pretty good recipes on there. This one appealed to me because I thought that the shredded potato pie crust was funny, and also because I haven't made a quiche for a long time (oh, and I was craving dill!).

Ingredients:

1 package of shredded hashbrown potatoes*
Garlic powder (optional)
1 tomato, diced
1/2 cup fresh spinach, chopped
2 tbsp red onion
2 tsp dry dill**
1/4 cup feta cheese
7 large eggs
1/4 cup milk
Salt & pepper
Olive oil

{*Note. Available at IGA. In the original recipe, she actually grated the potatoes herself. I don't really have the time, nor the patience to do this, so I "cheated" and just bought the pre-shredded version. If you have a nice evening that you would like do it from scratch, I recommend looking at her blog. But, if you're like me, you would much prefer to sip on a glass of wine and read a book than stand around shredding potatoes.}.

{**Note. I also added about 2-3 tbsp of fresh dill, and really recommend doing this. Even with this much dill, I think it could have used some more!}.


Preheat oven to 375F.

1. First, I patted the shredded potatoes dry, and spread them in a pie dish. I pressed them down fairly hard and then sprinkled with salt, pepper, and garlic powder to taste. I then placed it in the oven for about 12-14 minutes. It's not very finicky on this count - you can leave it in for a bit longer without it burning (which I did as I prepared the other ingredients).


2. As the pie crust was cooking, I crumbled the feta, diced the tomato, sliced the spinach, and chopped the red onion.


3. I then beat the eggs, milk, and dill together in a separate bowl.


4. When everything was prepped, I removed the pie crust from the oven, and added the tomato, spinach, red onion, and 1/2 the feta cheese.


5. I then poured the egg mixture over top, and sprinkled on the remaining feta cheese.


6. I popped it in the oven for an additional 30-40 minutes, and let it stand for a few minutes before serving.


Overall, this was pretty simple to make, and very stress free. I originally searched for it because I was craving something fairly healthy which had dill in it. I think that the dill could either be increased, or I could have added more salt, which would have made the dill flavour pop more. One note, I would make the potato crust very very thin, or even mix some flavours right into it before setting it in the pie place. Surprisingly, it did make a very good, sturdy crust (and simple!), which I was pleased to see. I will make this recipe again (leftovers were even good for breaky the next day!), probably just adding more dill and salt. SB really liked it, and it was a nice change from our other meals.

Strawberry Spinach Salad w/ Poppyseed Dressing

FRIDAY, AUGUST 20TH, 2010

In an attempt to get back to our post-vacation "health", I decided to try to make salads a more interesting part of our meal. There are so many good ones out there that are super simple, and very yummy. I came across a blog which had this recipe (http://fortheloveofcooking-recipes.blogspot.com/2010/06/strawberry-spinach-salad-with-poppy.html). I decided to try it out, with my own modifications.

Ingredients:

Salad:

Baby spinach
Strawberries
Green onion
Goat cheese (optional

Dressing:

1/4 c. white wine vinegar
1/3 c. vegetable oil
2 tsp. granulated sugar
1/4 tsp. dry mustard
1/8 tsp. salt
2 tsp. poppy seed


1. I first prepared the poppyseed dressing by combining the sugar, vinegar, salt, and mustard in a food processor, and processing for 20 seconds.


2. I then added the oil and blended on high for an additional 10 seconds.


3. I removed the dressing into a bowl, and stirred in the poppy seeds, and refrigerated until I needed to use it on the salad.


4. For the salad, I simply combined the spinach, sliced strawberries, green onion, and goat cheese (we had some left over in our fridge).


5. I just spooned the dressing over top as needed, but you could also combine and toss it all together.

Overall, this was a pretty good tasting salad. Hard to screw up! I would have liked if we had more goat cheese to add to it, as I felt it went well with the dressing and strawberries. Will definitely (try to remember to) do this again!

Sweet Potatoes

TUESDAY, MAY 4TH, 2010

4 stars (out of 5 - the simplest, yet delicious, sweet potatoes!)

I don't usually like sweet potatoes, but I was inspired by my new cast-iron frying pan to purchase one and try it out. I wasn't disappointed! With the guidance of PTL, these turned out so well, and were incredibly easy.

Ingredients:

Sweet potatoes (I used 1 which = 3 (very) small side dishes)
Olive oil

1. First, I peeled the sweet potatoes, and cut it into cubes.

2. I added them to a microwaveable bowl, and zapped them for 3 minutes. I had originally added these to the oven, but they weren't baking quickly enough, so I only needed to microwave them for 3 minutes. I would recommend microwaving them at 2 minute intervals, stirring after every 2 minutes. They cook very quickly, though. You want them to be just a tiny bit undercooked at this point.

3. I then heated my (new!) cast-iron frying pan, added a bit of oil, and added the sweet potatoes when it was hot.


4. I cooked over medium heat, until they were slightly burnt on some of the sides. This didn't take long with my new pan.

5. I then served them with my pork recipe: http://etryingtocook.blogspot.com/2010/05/pork-tenderloin-w-sage-parsley-crust.html


Overall, I loved these! I like the flavour my cast-iron pan added to them and the texture was great. This was a fantastic way to mix things up and I will definitely be making them again.

Green Beans

TUESDAY, MARCH 30, 2010

3.5 stars (out of 5 - an okay, but not too exciting veggie dish - perhaps better if I don't overcook!)

I wanted to try another recipe from Pioneer Woman, and also expand my repertoire of vegetable sides (I'm always using asparagus!). SB really likes green beans, so when I saw this recipe I thought it would be perfect. It was pretty good, but because I was also making another dish (fish - see following post), I didn't plan the timing so well, and they ended up being a bit overcooked. If there was one thing I could improve right now, it would definitely be my timing of dishes (or lack thereof!). Here is the link to the original recipe: http://thepioneerwoman.com/cooking/2008/06/fresh-green-beans-one-way/

Ingredients:

1 lb green beans*
1 cup chopped onion
2 cloves garlic
1/2 cup chopped red bell pepper
1 tbsp butter
1 tbsp olive oil
1 cup chicken or veggie broth
1/2 tsp salt
Ground black pepper

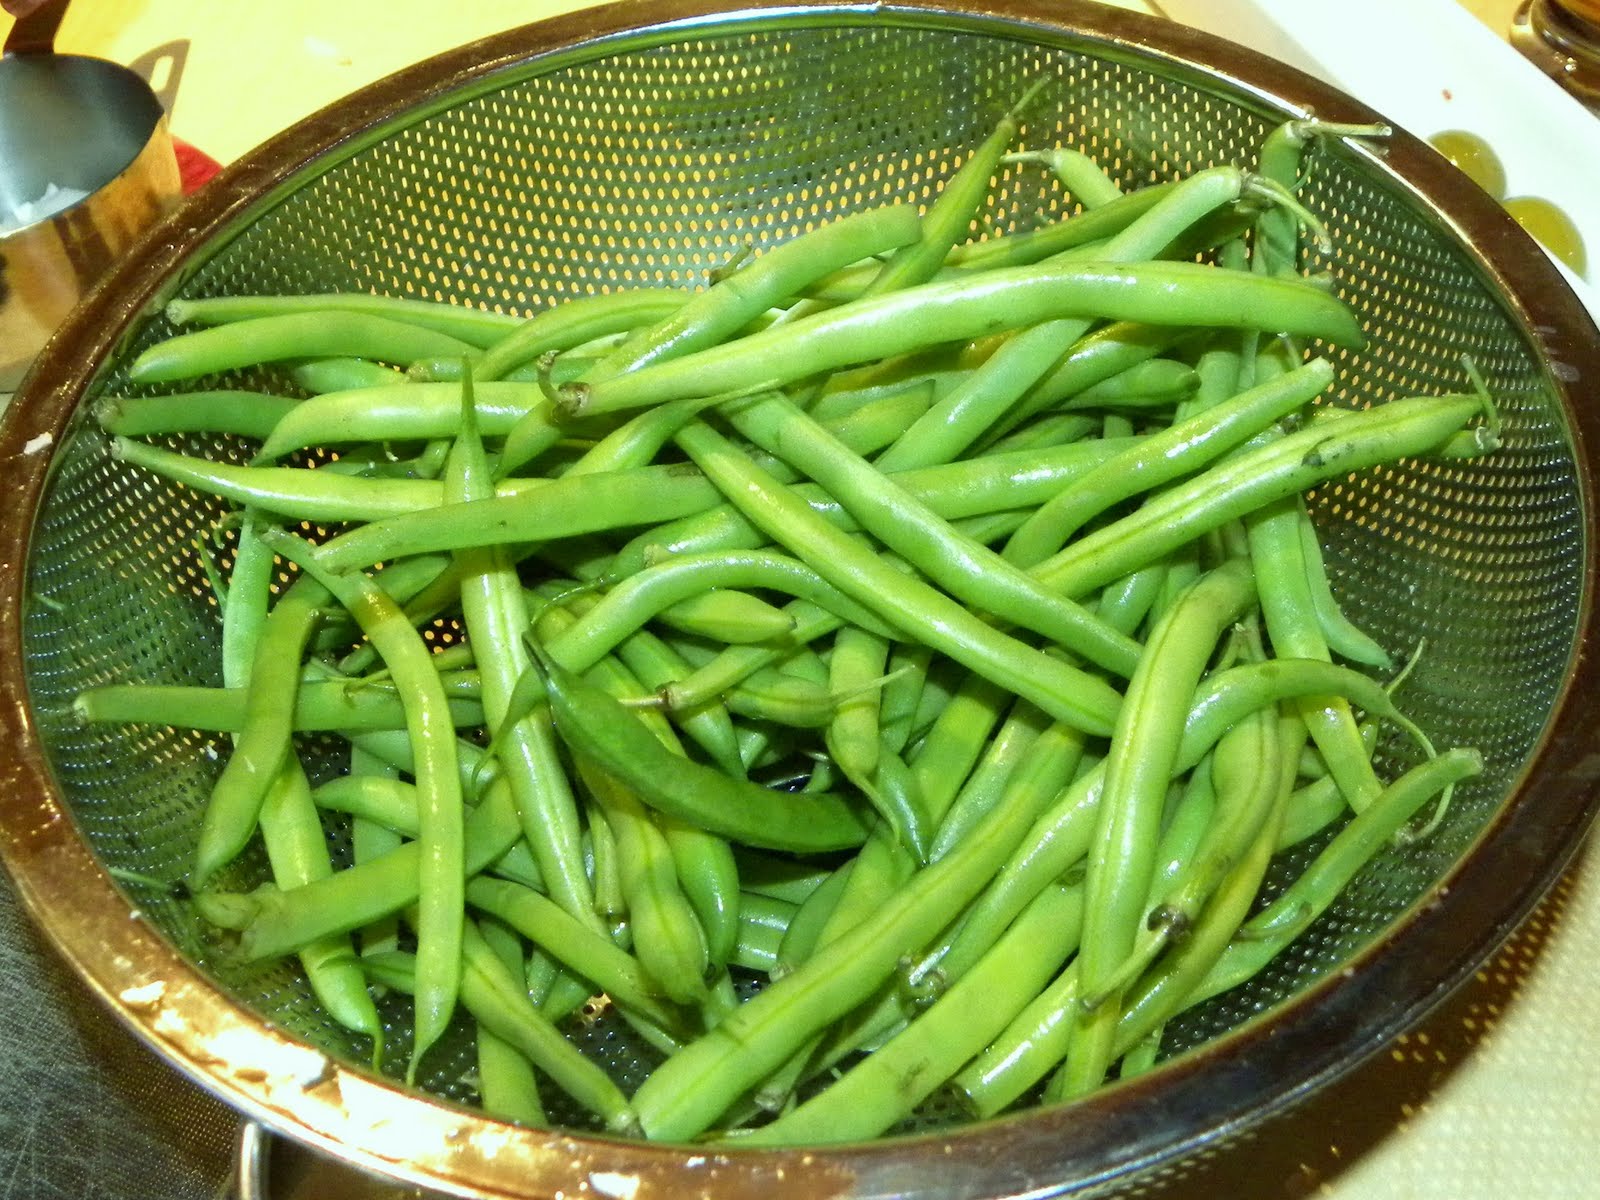
{*Note. I probably used a bit less... see picture.}

1. First, I washed the green beans and snapped the stems off.


2. I then chopped the onion fairly finely...


3. ... and the red pepper (again pretty finely).


4. I then heated up the oil and added the butter over medium-low heat.


5. When it was hot, I added the onion and the garlic, and cooked for about one minute.


6. I then added the green beans and stirred. I cooked these for about one minute (until they were bright green).


7. I added the broth and the red pepper, and stirred (salting it as needed).


8. I then turned the stove to low-medium heat, and cooked it covered (leaving it open a crack for the steam to escape)for about 30 minutes (to your liking).


Final product (slightly overcooked)


Overall, I enjoyed the green beans, but would keep a better eye on them so that they don't overcook. They're not too terribly exciting, but I guess it's a nice alternative to my regular ol' asparagus. I'll make them again and try to get the timing better.

Mushroom-Thyme Appy

SATURDAY, FEBRUARY 20TH, 2010

3 stars (out of 5 - pretty tasty, but not absolutely amazing)

I decided to make another vegetarian slow-cooker recipe, and thought that this appetizer looked good (also, I'm trying to acquire a taste for mushrooms). It was quite good and pretty tasty - I particularly liked the tangy-ness that the wine added; however, it wasn't absolutely amazing. I think I would like to try this again with another herb... perhaps rosemary?

Ingredients*:

3 green onions, chopped
2 packages of mushrooms (2x 227g), roughly chopped
1/4 cup olive oil (a little bit less)
1 tsp dry thyme
1/4 tsp salt
Pepper, to taste
1/3 cup plain cream cheese
1/4 cup dry white wine
Baguette

{*Note. This is enough for quite a few people (see pics below), so if you are making it just for two people I would make only half of this.}

1. First, I chopped the green onions and added them to the slow cooker along with the olive oil, turning the slow cooker on "High".


2. While the green onions were being cooked, I chopped up the mushrooms. I used a food processor, so they were chopped up very finely; however, with the length of time that they cook in the slow cooker, you could probably chop them up fairly coarsely.

3. I then added the mushrooms, thyme, and salt to the slow cooker, and stirred the mixture well. I switched the slow cooker onto "Low" and let the mixture cook for 6 hours.


4. After the mushrooms were very soft, I again stirred the mixture thoroughly. If there is any excess liquid, it should be drained.


5. ... and added the mushroom mixture, cream cheese, pepper, and white wine to my food processor, and mixed until smooth.


6. I placed it in a bowl, and served with baguette (you can toast these if you choose).


Overall, I thought this was a pretty good appy. It was easy enough to make, although I wasn't really sure why the slow-cooker was necessary. I felt that you could cook the mushrooms on the stove just as easily, and they would be ready in 10 minutes. I actually quite liked the flavour, even though it has a very strong mushroom taste. I just think that there might be a better herb to add to make it better. I would definitely recommend it, though!

Fettucine w/ Fresh Tomato-Pesto

TUESDAY, FEBRUARY 16TH, 2010

4 stars (out of 5 - a great garlicky pesto sauce)

My mom was visiting and we decided to make her some home-made pasta, while she found this recipe for home-made pesto with tomatoes. I really really enjoyed it, although I have to warn you that it is garlicky! I decided to make it again for LX when she visited, and to see if I could replicate mom's cooking.

Ingredients:

500g fettuccine (or fresh pasta!*)
3 cloves of garlic (the original recipe called for 8!! Yikes)
1/2 cup loosely packed, coarsely chopped fresh basil
120g baby spinach leaves, coarsely chopped**
2/3 cup (160 mL) olive oil
1/2 cup (40g) finely grated Parmesan cheese
3 medium tomatoes, coarsely chopped
2 tbsp lemon juice
1/2 jalapeno, thinly sliced***
1/3 cup (50g) pine nuts, toasted

{*Note. We used fresh pasta, as seen here: http://etryingtocook.blogspot.com/2009/12/fresh-home-made-pasta-fettucine.html. It was the perfect amount for three people, although it could do for four if you serve an appy).}

{**Note. The recipe suggested that we use baby spinach for a milder flavoured pesto. If you prefer, the original recipe called for 120g rocket. I haven't tried it yet, but I'm sure it's good.}

{***Note. The original recipe called for 2 red thai chillies, sliced thinly. I couldn't find these at the grocery store, so I just bought 1 jalapeno. In addition, since SB has a low tolerance for spices, I only added about 1/2 of the pepper.}

1. I first prepared the pesto, and just set it aside until we decided to cook to the pasta. This is one great thing about this recipe- there is no stress with the timing. To make the pesto, I first measured and chopped up my basil, garlic (only use 3!!), and spinach (I left it whole because I'm lazy).


2. I then crammed all these ingredients into my food processor. I had to process these ingredients in batches, adding more and more spinach because my processor is so small. I added the oil in batches as well, blending until smooth (look at how green it is!). {As I am uploading my pics, I am in the process of cooking and tasting this mixture - and I am worried. It's kinda bitter and just, well, garlicky. Fingers crossed!}


3. I then prepared the Parmesan cheese, tomato, lemon juice, and jalapeno, and toasted the pine nuts. Now I'm just waiting for the pasta. (BTW, is it me, or do pine nuts stink when you cook them? eww).


4. When everything was ready, we made the pasta, drained it, and threw in all the ingredients into the sauce pan. I didn't end up using all of the pesto mixture... just taste as you go.


5. The final product:


Overall, this was very simple to make and pretty delicious (fears unfounded). I only wish I had a bigger food processor. I would also recommend adding a bit of salt, and trying it with rocket, which I might do in the future. I think I enjoyed this because it is so different from our usual pasta sauces (and because of the garlic!). I also found that the tomato was a nice addition to add a bit of "freshness" to the dish. One note, if you make the main part of the pesto and then taste it, don't freak out like I did. The addition of the lemon and the Parmesan cheese really brings the flavours together and into a nice sauce.

ID's Baked Tomato Risotto

MONDAY, FEBRUARY 15TH, 2010

4.5 stars (out of 5 - a yummy, easy to make risotto)

This is a dish that the Irish Dancer (we`ll call him ID) cooked for me when I visited him a few weeks ago, and that I really really liked. I thought I'd try it out myself, and see if SB liked it as much as I did. I like this particular recipe because it's such an easy way to make risotto (without the constant stirring).

Ingredients:

2 tbsp butter
1 onion, finely chopped
1 cup arborio rice
19 oz (540 mL) can of stewed tomatoes
2 cups veggie broth
1 tbsp dried oregano
1 tsp salt
1 tsp garlic powder
1 tsp granulated sugar
140g goat cheese log
150g pkg baby spinach (approx.)

1. First, I melted the butter in a sauce pan. The recipe says to use an oven-safe sauce pan (medium sized); I wasn't sure if my stainless steel Ikea pot qualified, so I cooked it in this metal pot and transferred it to a (warmed) casserole dish for the baking portion of the recipe. On this note, here is where you would normally preheat your oven to 400F.


2. I added the onion to the melted butter and stirred. You want them softened (about 5 minutes cooking over medium heat).


3. As the onions cooked, I prepared the rice...


4. ... spices (I like to mix them together in a shot glass)...


5. ... and broth.


6. Once the onions were softened, I added the rice to the sauce pan and stirred until the rice was coated.


7. I then added the stewed tomatoes (including the liquid), and cooked (stirring frequently) over medium heat for about 5 minutes. You want to cook until most of the liquid is absorbed (second picture).


8. I added the broth and the spices to the pot, and turned the element on high, cooking until the mixture came to a boil.


9. Once the mixture came to a boil, it was time to stick it in the oven. If you have an oven-proof pot, you just stick the lid on and in it goes. Because I wasn't sure about the "oven-proofness" of my pot, I transferred the mixture to a casserole dish, covered it, and stuck it in the oven.

10. I cooked the mixture for 30-40 minutes (until liquid is absorbed), but you need to keep an eye on it. Mine looked like it wasn't absorbing the liquid, but then once I took it out (after 30 minutes) and stirred it well, it was much better and only needed 10 minutes more.

11. Once it was cooked, I added the log of goat cheese and the spinach, stirring well.


12. Served with a salad!


Overall, this has such a great flavour with the goat cheese-tomato combo, and it is fairly easy to make. I never make risotto because, well, I'm too lazy, but this is a really simplified way to do it. As you can see from my pic, it was a bit runny, but I think it would have been good with 5 more minutes (SB was too hungry!).