Showing posts with label Easy. Show all posts

Orange & Dill Salmon

TUESDAY, MAY 11TH, 2010

4 stars (out of 5 - an easy salmon dish, with an interesting blend of flavours)

1 serving = ~209 calories.

I am really trying to get SB to eat more fish, less red meat which means that I am now trying to conquer my fear/disgust of cooking fish. I have a Company's Coming cookbook that has a lot of really good, yet really simple fish recipes, and this is another one of them. I decided to try it out today because I needed to make the marinade in the afternoon.

Ingredients:

1/2 cup (125 mL) orange juice
1/3 cup (75 mL) maple syrup
1/4 cup (60 mL) dry white wine
1/4 cup chopped fresh dill*
1 tbsp (15 mL) soy sauce
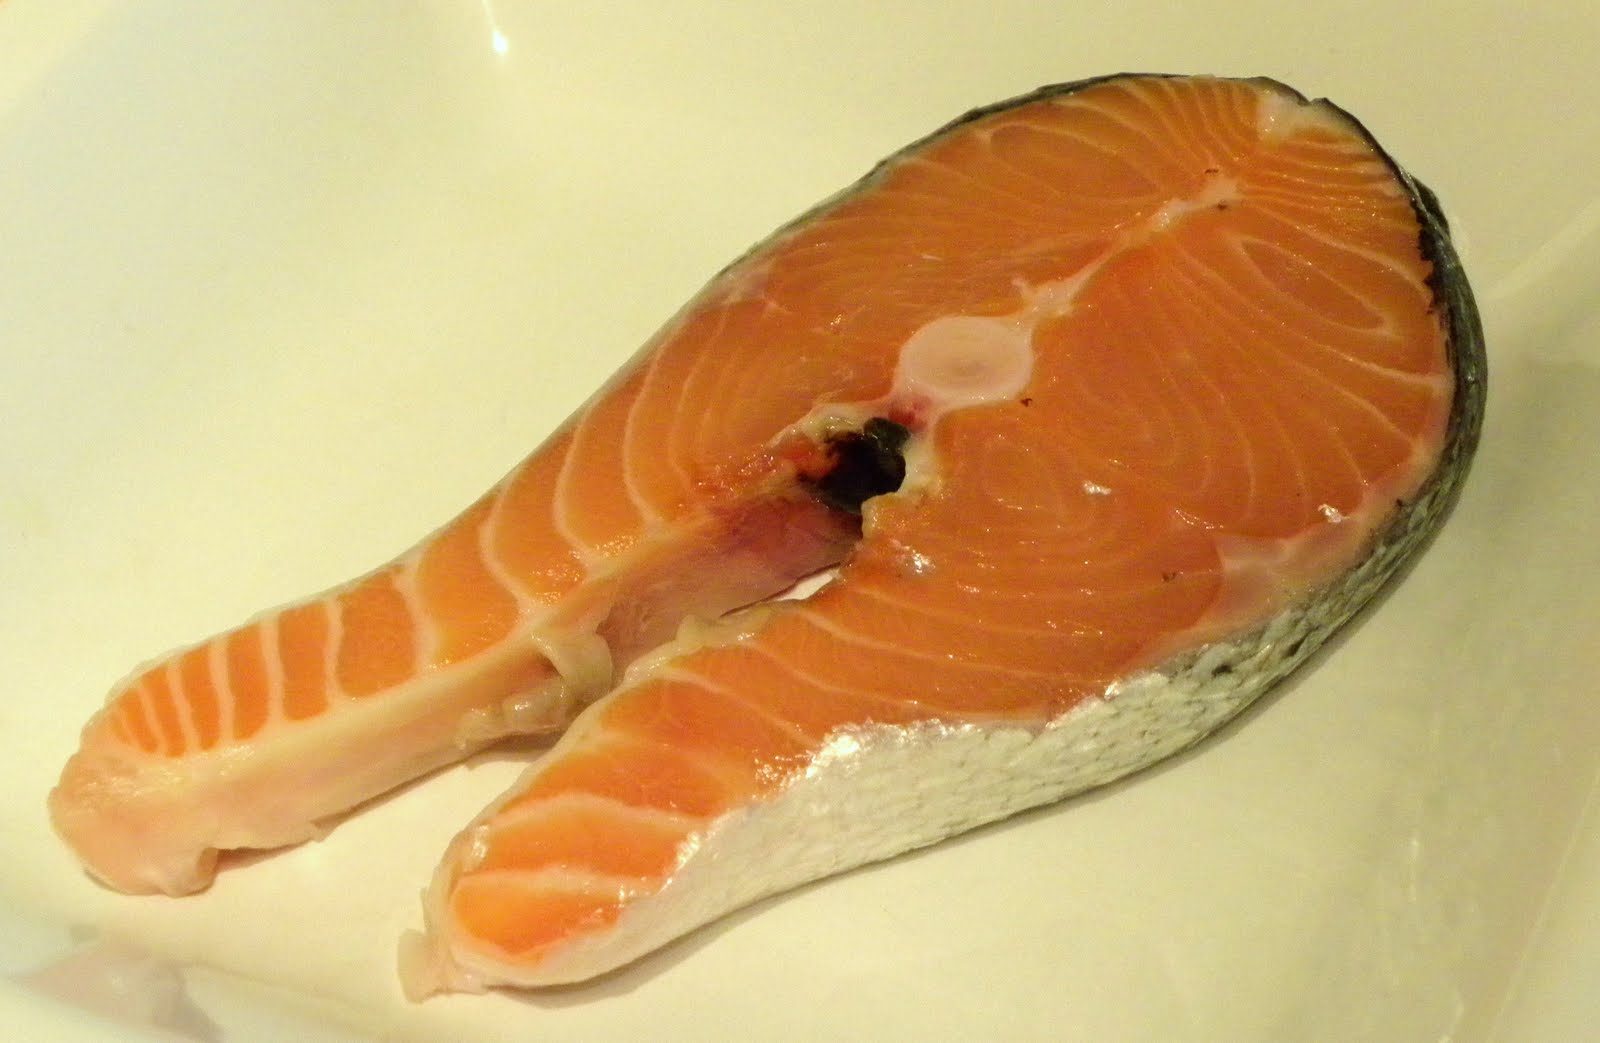
Up to 4 salmon steaks, ~2cm/1" thick, 113 g each**

{*Note. You can also use 1 tbsp of dill weed if you prefer. I used fresh dill and then sprinkled some dill weed over top for good measure}.

{**Note. I only cooked 1 salmon steak, but the recipe is for up to four}.

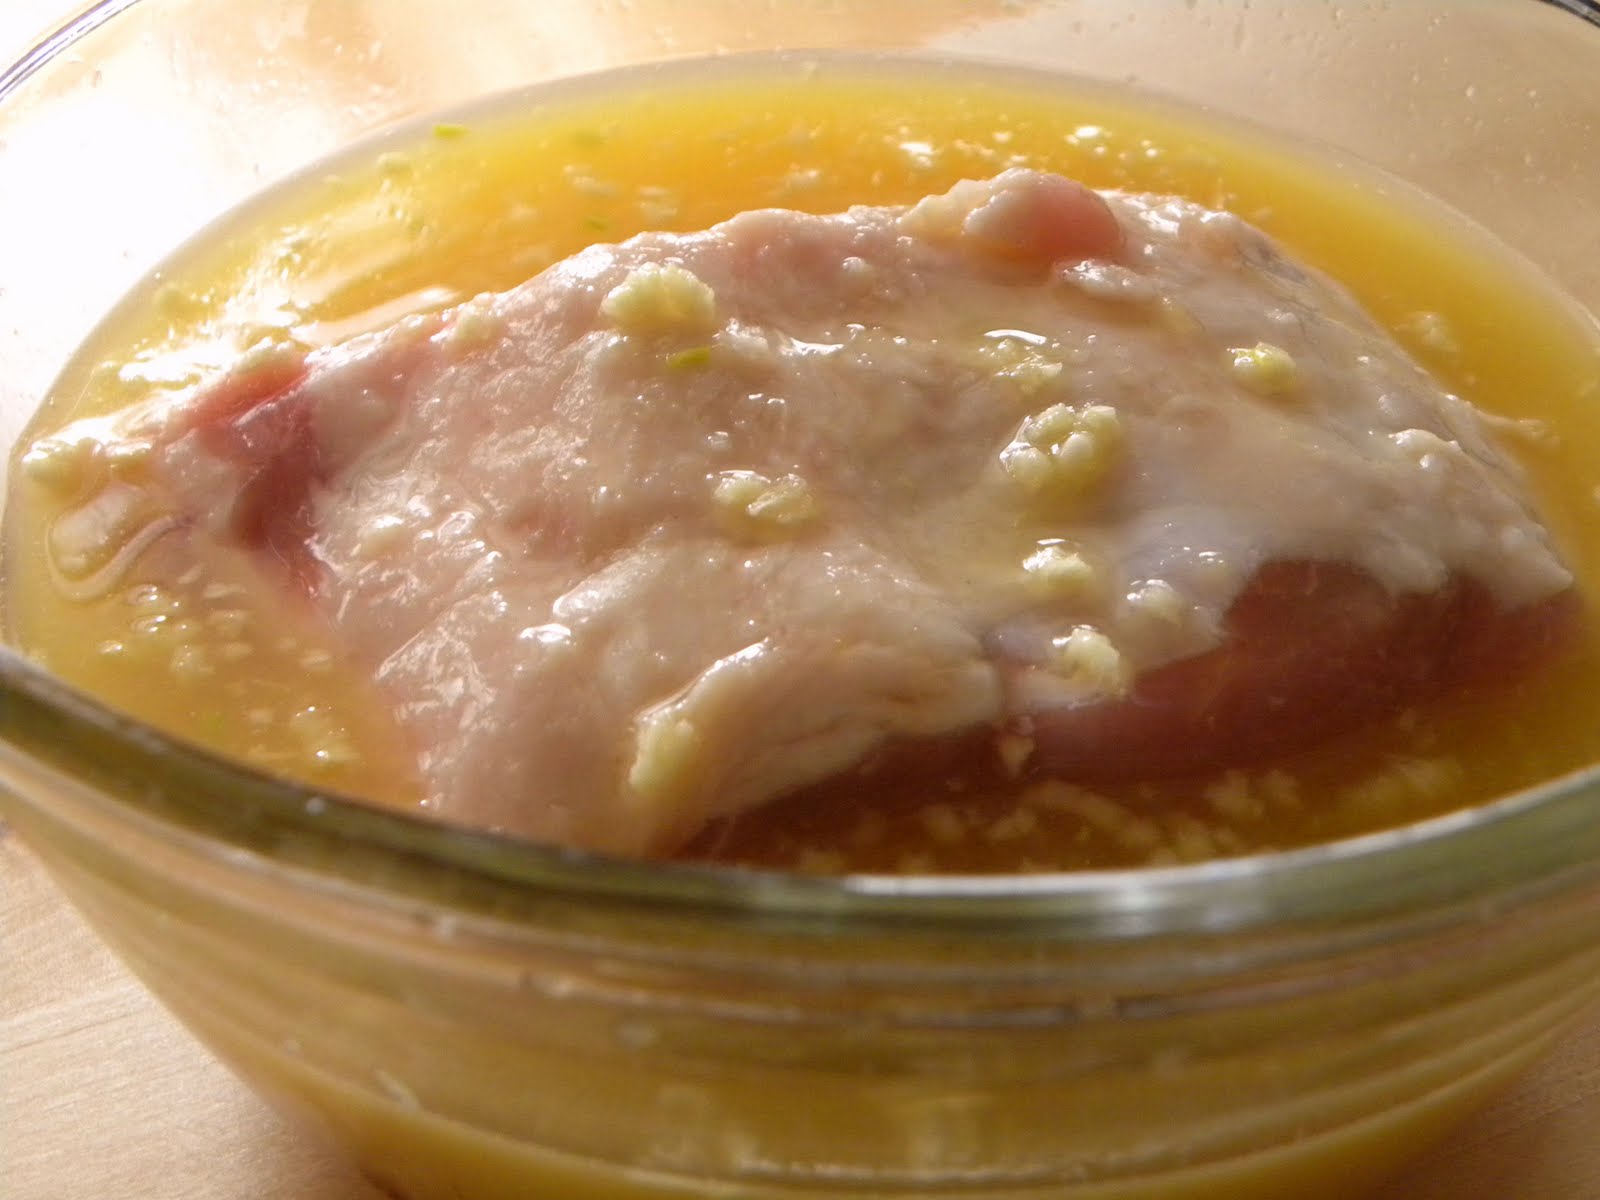
1. First, I combined the first 5 ingredients in the small bowl, and mixed well.


2. I then placed the salmon in the bowl, covered it, and stuck it in the fridge for up to 4 hours.


3. When I was ready to cook, I removed the salmon from the marinade (and discarded the leftover marinade), and fried it with some olive oil on medium heat in a non-stick pan for about 3-4 minutes per side (until it flaked away easily). The original recipe said to use an electric grill (or gas bbq to medium), and to cook it 5 minutes per side. I think I will have to get one of those!).

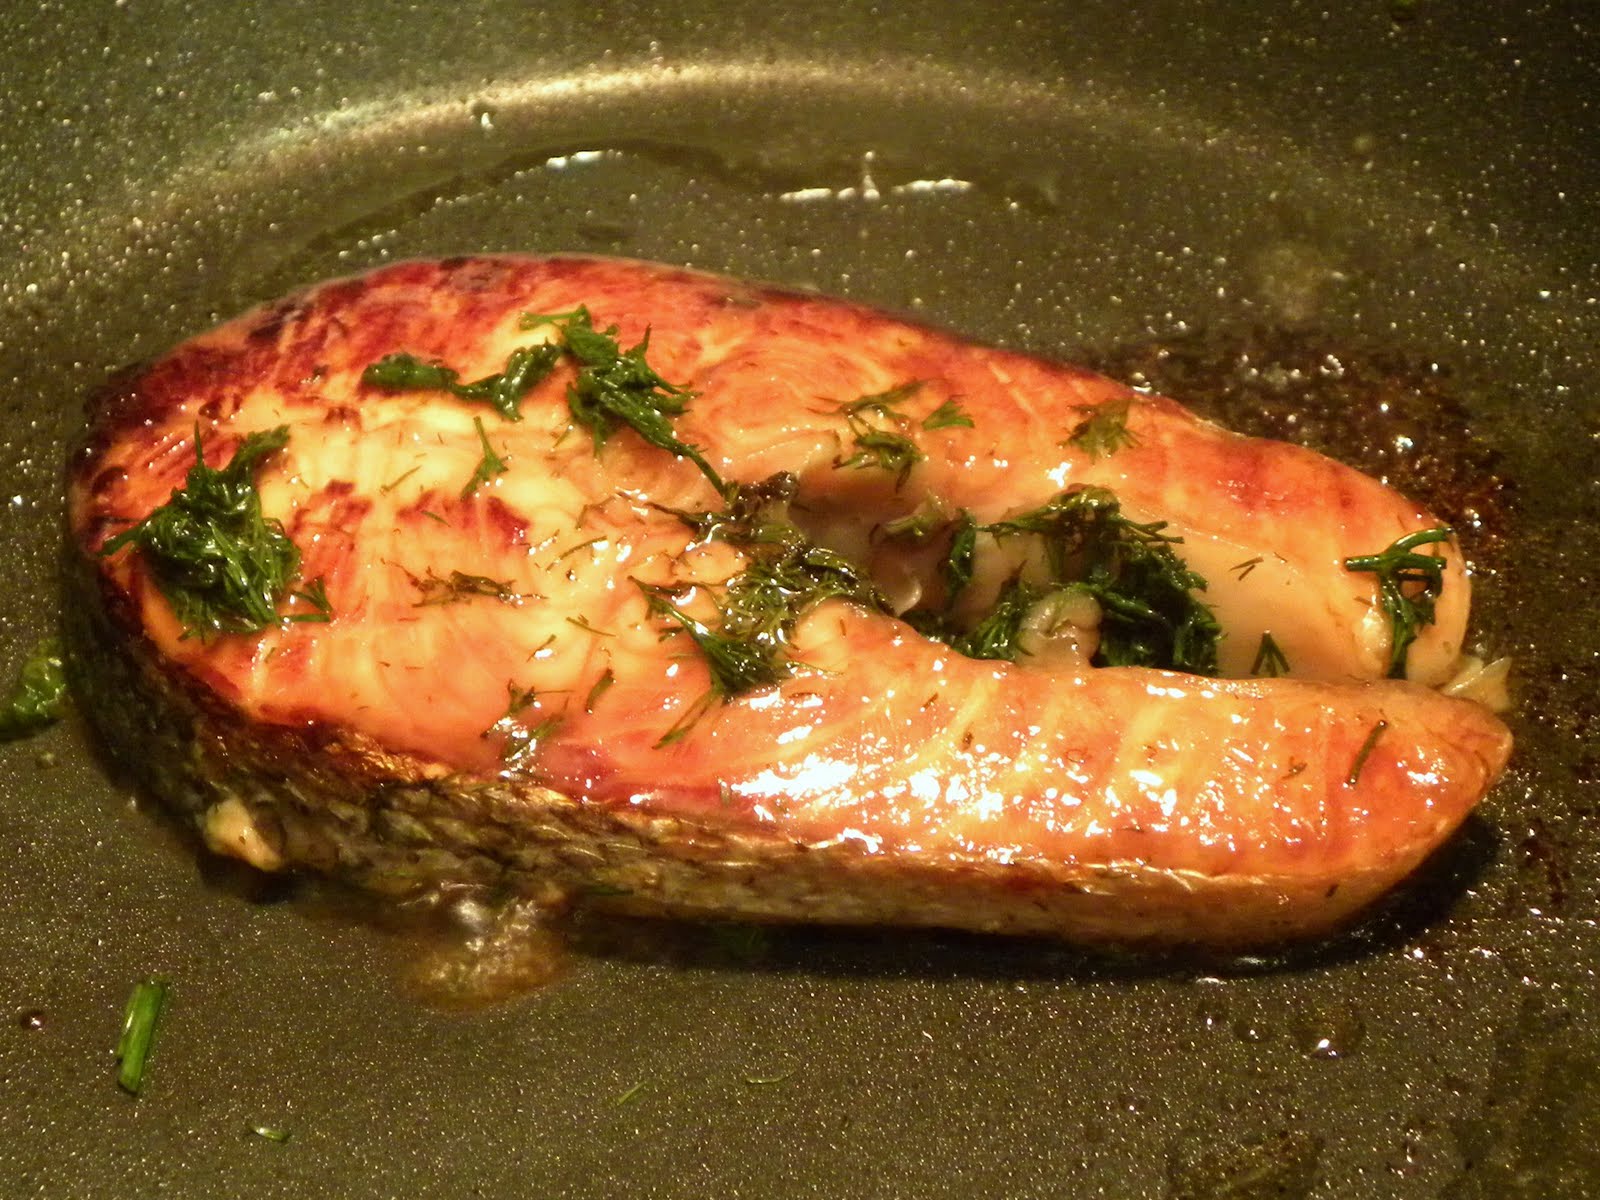


4. I served it with some baked asparagus (and a avocado-orange salad on the side - post to come!).


Overall, this was really easy to prepare ahead (the most time-consuming process was chopping up the dill, and it still only took about 5 minutes) and then just fry up when I was ready. SB said it was a really interesting mix of flavours with the maple, and that they blended together well. It was nice and moist and flaky inside. I might try this again with a grill. One note, SB kept adding the dill to the frying fish, which is why it blackened so much. I think that (presentation-wise) it might have looked better if we hadn't done that, or had used a grill instead.

Tarragon-Poached Fish (Haddock or Cod)

WEDNESDAY, MAY 5TH, 2010

4 stars (out of 5 - an easy, succulent fish dish - and super low calorie!)

I again wanted to try out another fish dish, and this one looked appealing. It was also described as super quick and easy (which I love!), and only has ~170 calories per portion (how fantastic is that?!). It turned out to be a really great tasting dish as well (which is always nice!) (Original recipe: http://www.companyscoming.com/index.php?par=free_recipes&fy=2007&fm=3&recipeid=705)

Ingredients*:

2 tbsp (30 mL) butter
2 tbsp (30 mL) flour
1 cup vegetable broth
1 tsp dried tarragon
2 tbsp lemon juice
1 1 lb (454g) of haddock or cod(de-boned) fillets (I used haddock and it was good)*

{*Note. These ingredients are for 4 portions. I only used one smaller fish fillet for SB, and it worked really well (with lots of sauce). The original recipe called for 1 lb of fish (454g), about 1/2 an inch thick each}.

1. First, I added the butter to a large frying pan, and melted over medium heat.


2. Once it was melted, I stirred in most of the flour for about one minute...


3. ... and slowly stirred in the broth, stirring constantly until it is boiling and thickened.


4. I then added the lemon juice and tarragon, and stirred well.

5. Lowering the heat to low-medium, I added the fish fillet to the pan, coating with sauce.


6. I then covered it with a lid and simmered it for 5-7 minutes (until the fish was nice and flaky).


7. I served it with all of the sauce and a side of rice (but feel free to be more creative with the accompaniments... I was burnt out after back to back patients today, so was a bit lazy!).


Overall, this was so so easy and very quick, but very tasty and "succulent" (direct quote from SB!). It also looked quite impressive, especially if you did a nice side with it (not instant rice - yikes!). It will definitely be added to my growing list of good fish recipes.

Pork Tenderloin w/ Sage-Parsley Crust

TUESDAY, MAY 4TH, 2010

4.5 stars (out of 5 - a super-easy, yet impressive pork dish!)

It was yet another Hockey Night in Canada, and we were invited over to PTL's place for dinner. Unfortunately (for me), I had already purchased my groceries for this dinner (a new recipe attempt). Soo, I decided to be brave and try it out on both SB and PTL (usually, I like to try things out at least once before making them for guests). Luckily for me, it turned out really well, and my fears (of a dried out roast) were unfounded: it was a great combo of flavours and the meat was very tender.

Ingredients:

1/2 cup (125 mL) orange juice
1/2 cup dry white wine
2 tbsp (30 mL)liquid honey
2 garlic cloves, minced
~1 lb (~450g) pork tenderloin, trimmed of fat
1.5 tbsp whole grained mustard
1/4-1/3 cup fresh parsley, chopped*
2 tbsp fresh sage, chopped**
1 tbsp course ground pepper

{*Note. I didn't have fresh parsley, so I substituted this with 2 tbsp of dried parsley and it worked well}.

{**Note. I used a bit more than this. Basically, for the parsley and sage, you want a nice layer around the meat (see pics below)}.

1. First, I mixed the first four ingredients into a medium-sized bowl.


2. I then added the tenderloin, coating all sides, marinating it in the fridge for at least 4 hours (turning once and a while), or overnight. You can see from the picture that I didn't have the courage to trim the fat myself, so I just marinated it all and had SB trim it when he came home!


3. {Preheat oven to 375F} After it had marinated, I then coated the roast with the whole grained Dijon mustard (all sides)...


4. ... mixed up the sage, parsley, and pepper mixture...


5. ...and rolled the roast around until it was coated on all sides. Unless you have really coarse pepper (I didn't), be careful with the pepper mixture. I found it stuck in big patches, so had to rub quite a bit off. I would instead recommend just sprinkling the roast with the pepper by hand (still be generous with it). I placed it on a cooking rack (greased) in a baking pan with sides.


5. I then placed it in the oven, with a meat thermometer in it, and cooked it until it reached 155F (about 45 minutes).

6. After I took the roast out of the oven, I covered it in tinfoil for 10 minutes to let the juices mix, and the temperature to rise a few more degrees.


7. As the juices were mixing, I poured the leftover marinade in a frying pan on medium-high heat for 5-7 minutes until it reduced and thickened slightly (second pic).


8. I then unwrapped it from the foil...


9. ...and sliced it in ~2cm/1" slices.


10. I then drizzled the sauce over top (to each person's liking), and served it with a simple salad and sweet potatoes (recipe entry to come!).


Overall, even though I was nervous making this, the meat thermometer made it a stress-free experience. I didn't have to guess whether it was cooked well enough or not, and it definitely was not overcooked or dried out in any way. In fact, I was surprised by how moist/tender the meat was (well, looked since I didn't taste!), and the sauce makes it even more so. SB and PTL both thought it tasted really delicious, so I was pleased! Will do again - easy and stress free, yet impressive!

Lamb Chops

FRIDAY, APRIL 30th, 2010

4.5 stars (out of 5 - yay! Incredibly easy, incredibly good)

I had planned (and purchased) all of the ingredients for my couscous recipe (for the recipe see http://etryingtocook.blogspot.com/2009/04/classic-beef-dinner-with-couscous.html) at the beginning of this week, but hadn't had the opportunity to make it. PTL was coming over for the hockey game, so I decided we would have couscous and pair it with something new: lamb chops (awww.. baaaaa). I also had zucchinis that I needed to use, so I made my previous post's zucchini recipe for a starter. It all was really easy, stress free, and delicious.

Ingredients (for 6-8 lamb chops):

Lamb chops*
1/4 cup olive oil
1 tbsp fresh thyme**, chopped up
1 tbsp rosemary
2 cloves of garlic, minced
Zest of 1 lemon
3/4 tsp salt
1/4 tsp pepper

{*Note. I bought "cruelty free" lamb. For some reason, this seemed really important with lamb. Maybe because they're so cute? Ok, that's awful to say! I should always purchase this type of meat.}

{**Note. You may also want to add a tbsp of chopped basil, but I did it without and it was delicious. If anyone tries it, let me know!}

1. First, I combined all of the ingredients in a bowl, and stirred well.

2. I let this sit for about 1 hour (to let the flavours mix), but if you're in a hurry, this isn't necessary.

3. I then dipped each lamb chop into the bowl, coating each side well, then placed in a plate (with edges... it will be slightly liquidy). I spooned all of the remaining liquid over top. I then let it marinate in the fridge for 1 hour (you just need about 30 minutes, minimum), and watched the hockey game.

4. At intermission, we heated a skillet over medium heat, and (when hot) added the lamb chops. You don't want to overcook them, so I would suggest starting with 4 minutes per side, but this depends on the thickness of your chops.


5. Once done (still red in the middle), we set them aside for 5 minutes, to let the juices mix.


6. And served it with asparagus and Mediterranean couscous.


Overall, this was soooo simple, but delicious. It was also fun to mix it up a bit, and the marinade was easy but added a great flavour to the meat. It's a great dish to make for company, because you will only need to fry them up (no other cooking) while they are there (and this basically just takes a few minutes, flipping the meat once). Will definitely do it again!

Stuffed Zucchinis - GV Style

THURSDAY, APRIL 29TH, 2010

4-4.5 stars (out of 5 - simple, yet impressive and delicious!)

GV gave me this recipe at one of our many in-between-patient meetings, where we love to talk about anything but the stress of our internship! This is really a simple recipe that looks super impressive and tastes just as good. I love the heartiness of it, and the blend of all the flavours.

Ingredients:


Medium sized zucchinis
1 shallot per (whole) zucchini, finely chopped
Butter
1 slice of white bread per zucchini (whole), torn into bite-sized pieces
Splash or two of milk or cream
Shredded cheese (either Havarti or Gruyere)*
Salt and pepper

{*Note. I have made these two times: the first was with Gruyere cheese, which was great; this time I made it with Havarti, which was also good and browned easier. Basically, any good, strong cheese will work, depending on your preference}.

1. {Preheat oven to 350 or 375F} First, I cut the zucchinis in half, and scooped them out. I chopped the zucchini "insides" and set them aside.


2. I then heated a pan over medium heat, and added butter. Once it was hot, I added the shallots and cooked for about 3-4 minutes.


3. Once the shallots were semi-cooked, I added the zucchini "insides" and cooked for about 3-5 minutes.

4. As this was cooking, I tore the bread into small pieces, and added a dollop of milk so that the bread-milk mixture was moist, but not soggy.


3. I then added the cooked zucchini/shallot mixture to the bread...

4. ... and stirred in the cheese, mixing everything well.


5. I then stuffed the zucchini halves with the mixture...


6. ... and topped with extra shredded cheese.


7. I then placed them in the oven for about 10-14 minutes.

Final product:


Overall, I found these to be a delicious accompaniment to any meal, or as a main part of a meal (which I did as a replacement to a meat, served with a salad). The flavours and textures are ideal, and they are simple to make (and hard to mess up!) which I love. These will definitely become a regular in our household. Thank you, GV!

Cod: Baked with Dill and Lemon Sauce

THURSDAY, APRIL 29TH, 2010

4.5 stars (out of 5 - so simple, and so good!)

I wanted to make another fish dish for several reasons: 1) I wanted to expand my "repertoire"; and 2) I wanted to start to make more healthy dishes for SB. I saw this recipe in "Company's Coming" and it looked easy and delicious. Fortunately, it was!

Ingredients:

Cod fillets (boneless) - up to 4 @ ~150-200g (I used 1x 250g)

1/3 cup sour cream
1 tsp lemon juice
1/2 tsp dill weed (dry)
1/2 tsp garlic salt

1/3 cup grated Havarti (or old cheddar) cheese

1. {Preheat oven to 350F} First, I mixed the sour cream, lemon juice, garlic salt, and dill together in a small bowl, and set aside.


2. I then grated the cheese... and placed the fish fillets in a baking sheet (with sides), spooning the sour cream mixture over top...


3. ... and sprinkling with cheese.


4. I then placed the fish in the oven for about 12-15 minutes (depending on the size of your fillet... for a 250g fillet, I needed 16 minutes).

5. After the fish was basically cooked, I placed the oven on broil for 2-3 minutes to slightly brown the cheese...


6. ... and served it with a side of couscous (or rice) and asparagus.


Overall, this recipe was SOOOO simple and (apparently) really good. SB really liked all of the different flavours, and also I loved how it didn't make my entire flat smell like fish! I will definitely do it again.

Veal Cutlets w/ White Wine Sauce

SATURDAY, FEBRUARY 20TH, 2010

3.5 stars (out of 5 - just needs less salt!)

I found this super simple recipe recently, and decided to test whether it really was as easy as it seemed! It was a pretty good, super-quick recipe, but needed a bit of adjustment (see notes below).

Ingredients (makes just over 1 cup wine sauce; adjust accordingly):

Veal cutlets (1-2 per person)
Flour
3 tbsp margarine*
2 tbsp flour
Salt, to taste**
Pepper, to taste
1 1/2 tsp bouillon (veggie or beef)
1 cup milk
2 tbsp white wine

{*Note. The recipe suggests using margarine, as butter will brown too quickly.}

{**Note. The original recipe called for salt, but I found it was too salty, so add with caution. I would suggest excluding the salt until the sauce is almost fully prepared, and then adding it to your taste near the end.}

1. First, I dredged the meat in flour. This gives it a crispier coating,when it cooks, which I like; however, this step is optional.


2. I then melted 1 tbsp of margarine in frying pan over medium heat. When it was hot, I added the meat, cooking to your preference of readiness. This was my chick'n version.


3. I set the meat aside on a heated plate, and kept warm. Using the same pan, I melted the remaining 2 tbsp of margarine over medium heat.


4. I then mixed the bouillon, flour, and pepper in a bowl...


5. ...and added it to the margarine, stirring it until it was smooth. This was a bit difficult, but I tried.


6. Finally, I gradually added the milk and wine, stirring constantly until it is bubbly and thickened. Even though I used skim milk, the mixture was very thick. However, I found it incredibly difficult to get all of the lumps out. In the end, it wasn't lumpy (enough to notice), but next time I think I will use my mini blender to make it easier on my arms.


7. I then drizzled some sauce on a warmed plate, placed the meat on top of it, and drizzled more sauce over top. We served with mashed potatoes. Sorry, no final pic!

Overall, this truly was a super simple recipe. The only difficulty was with the lumpy sauce, which we eventually worked out. The version of the sauce in the book was very salty, so I will try this again without the salt. I liked the ease at which the sauce thickened (sometimes I have a problem with this). As for the flavour, it was good, but not incredible. I actually think that a bit more white wine might kick it up a notch, so perhaps I will try that as well next time (at the risk of the sauce thickness). But there will definitely be a next time!