Showing posts with label 3.5 stars. Show all posts

Green Beans

TUESDAY, MARCH 30, 2010

3.5 stars (out of 5 - an okay, but not too exciting veggie dish - perhaps better if I don't overcook!)

I wanted to try another recipe from Pioneer Woman, and also expand my repertoire of vegetable sides (I'm always using asparagus!). SB really likes green beans, so when I saw this recipe I thought it would be perfect. It was pretty good, but because I was also making another dish (fish - see following post), I didn't plan the timing so well, and they ended up being a bit overcooked. If there was one thing I could improve right now, it would definitely be my timing of dishes (or lack thereof!). Here is the link to the original recipe: http://thepioneerwoman.com/cooking/2008/06/fresh-green-beans-one-way/

Ingredients:

1 lb green beans*
1 cup chopped onion
2 cloves garlic
1/2 cup chopped red bell pepper
1 tbsp butter
1 tbsp olive oil
1 cup chicken or veggie broth
1/2 tsp salt
Ground black pepper

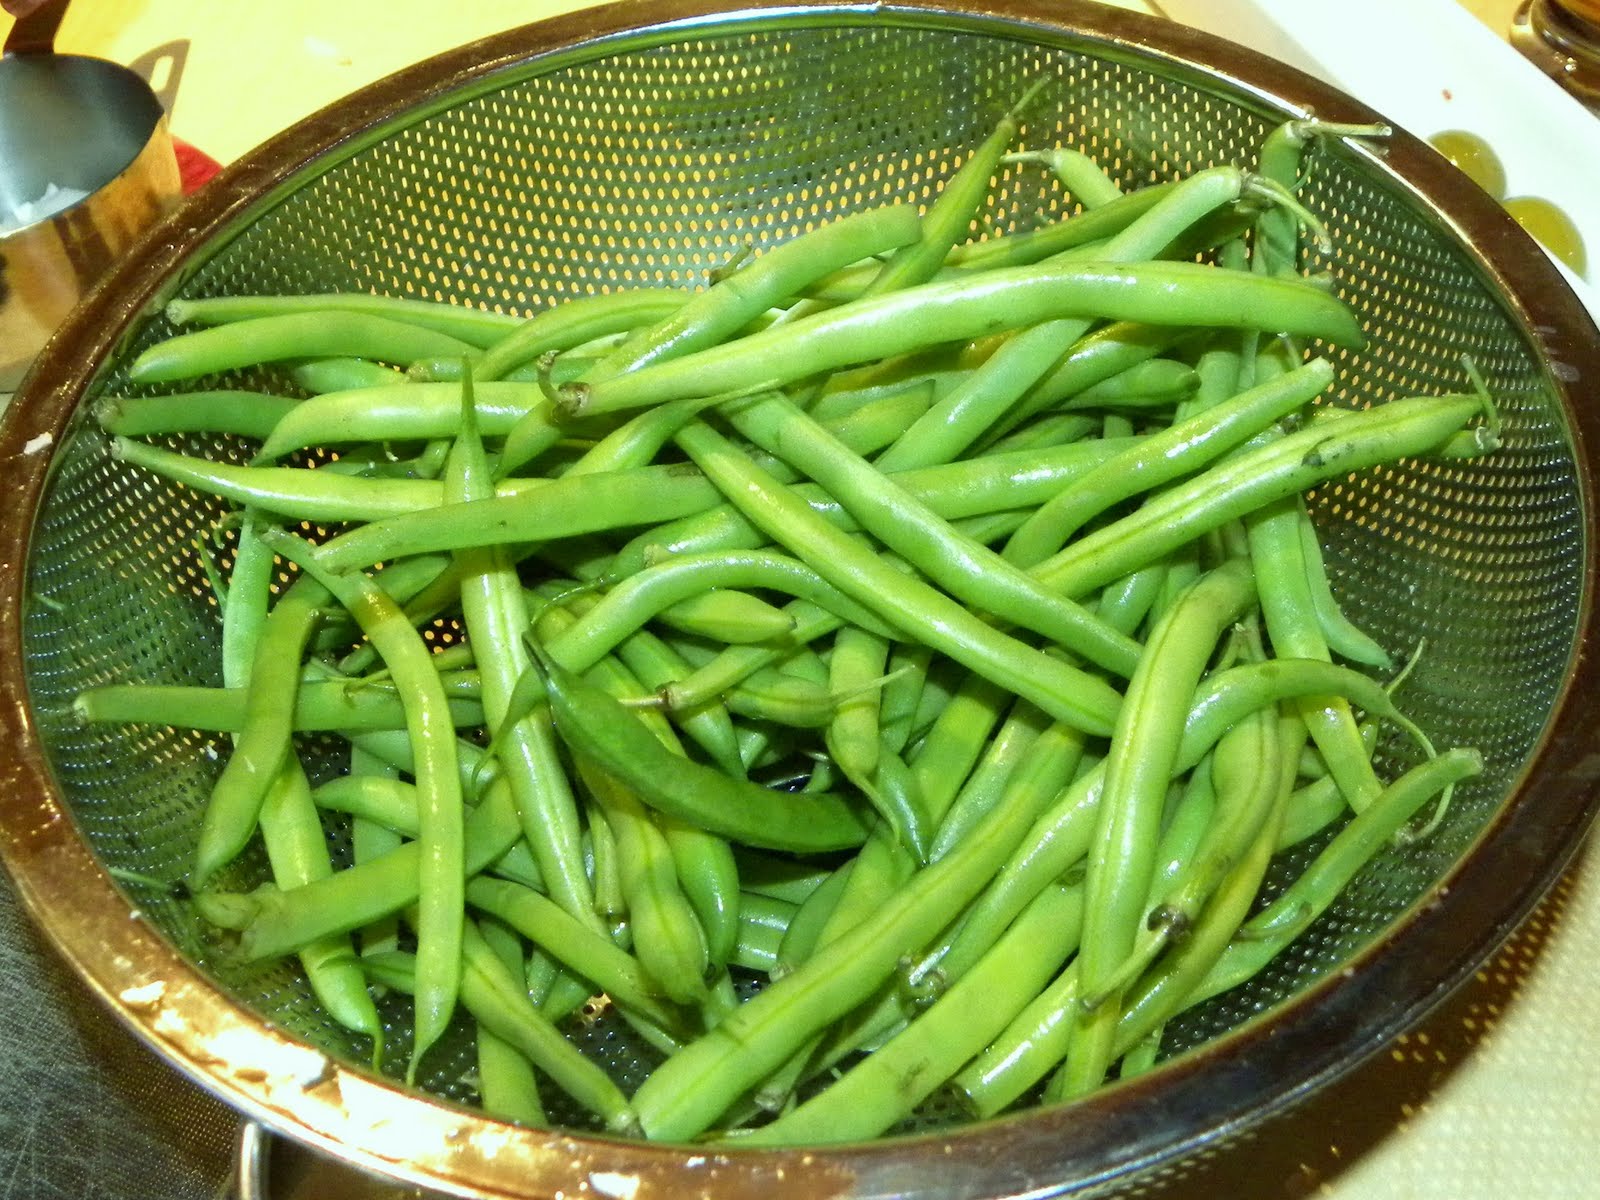
{*Note. I probably used a bit less... see picture.}

1. First, I washed the green beans and snapped the stems off.


2. I then chopped the onion fairly finely...


3. ... and the red pepper (again pretty finely).


4. I then heated up the oil and added the butter over medium-low heat.


5. When it was hot, I added the onion and the garlic, and cooked for about one minute.


6. I then added the green beans and stirred. I cooked these for about one minute (until they were bright green).


7. I added the broth and the red pepper, and stirred (salting it as needed).


8. I then turned the stove to low-medium heat, and cooked it covered (leaving it open a crack for the steam to escape)for about 30 minutes (to your liking).


Final product (slightly overcooked)


Overall, I enjoyed the green beans, but would keep a better eye on them so that they don't overcook. They're not too terribly exciting, but I guess it's a nice alternative to my regular ol' asparagus. I'll make them again and try to get the timing better.

White Roasted Fish w/ Lemony Asparagus

TUESDAY, MARCH 30, 2010

3.5 stars (out of 5 - with the possibility of 4.5 stars with said improvements!)

I decided to try out a Jamie Oliver recipe; my friends have made some of his things, and they've always been delicious. I also felt like being really adventurous, and cooking with fish (which I detest). I didn't really like cooking with fish, but in the end I did it (and it turned out well!) so I was proud of myself. His recipe was also a complete meal (fish and asparagus), which I liked (although I also added a side of green beans). Here is the link to the original recipe http://www.jamieoliver.com/recipes/fish-recipes/delicious-roasted-white-fish-wrapped-in

Ingredients:

Fish:

200g white fish fillets*, cut 2.5cm thick, skinned/boned (how ever many you need to cook - I only used one -but they should all be around 200g)
2 sprigs of fresh rosemary, finely chopped
Zest and juice of 2 lemons (juice is for asparagus)
Ground black pepper
2-3 slices bacon per fish fillet (or pancetta)
Olive oil

Asparagus & Sauce:

4 tablespoons mayonnaise
Large bunch of asparagus

{*Note. You want a "robust" white fish - either Haddock or Monkfish as they can handle to taste of the bacon. I used Haddock; however, since our groceries were delivered this week, I would have taken a bit thicker of a piece than is pictured}.

1. {Preheat oven to 400F) First, I combined the zest and the chopped rosemary in a small bowl.


2. Next, I needed thin slices of bacon, so I covered my bacon slices in wax paper and used a rolling pin to flatten them out. It was kinda gross/kinda satisfying in some weird way.


3. Next, I seasoned the fish fillet with pepper and the lemon/rosemary mixture...


4. ...and placed it on top of the bacon slices (I cut them all in half first). The bacon slices were slightly overlapping.


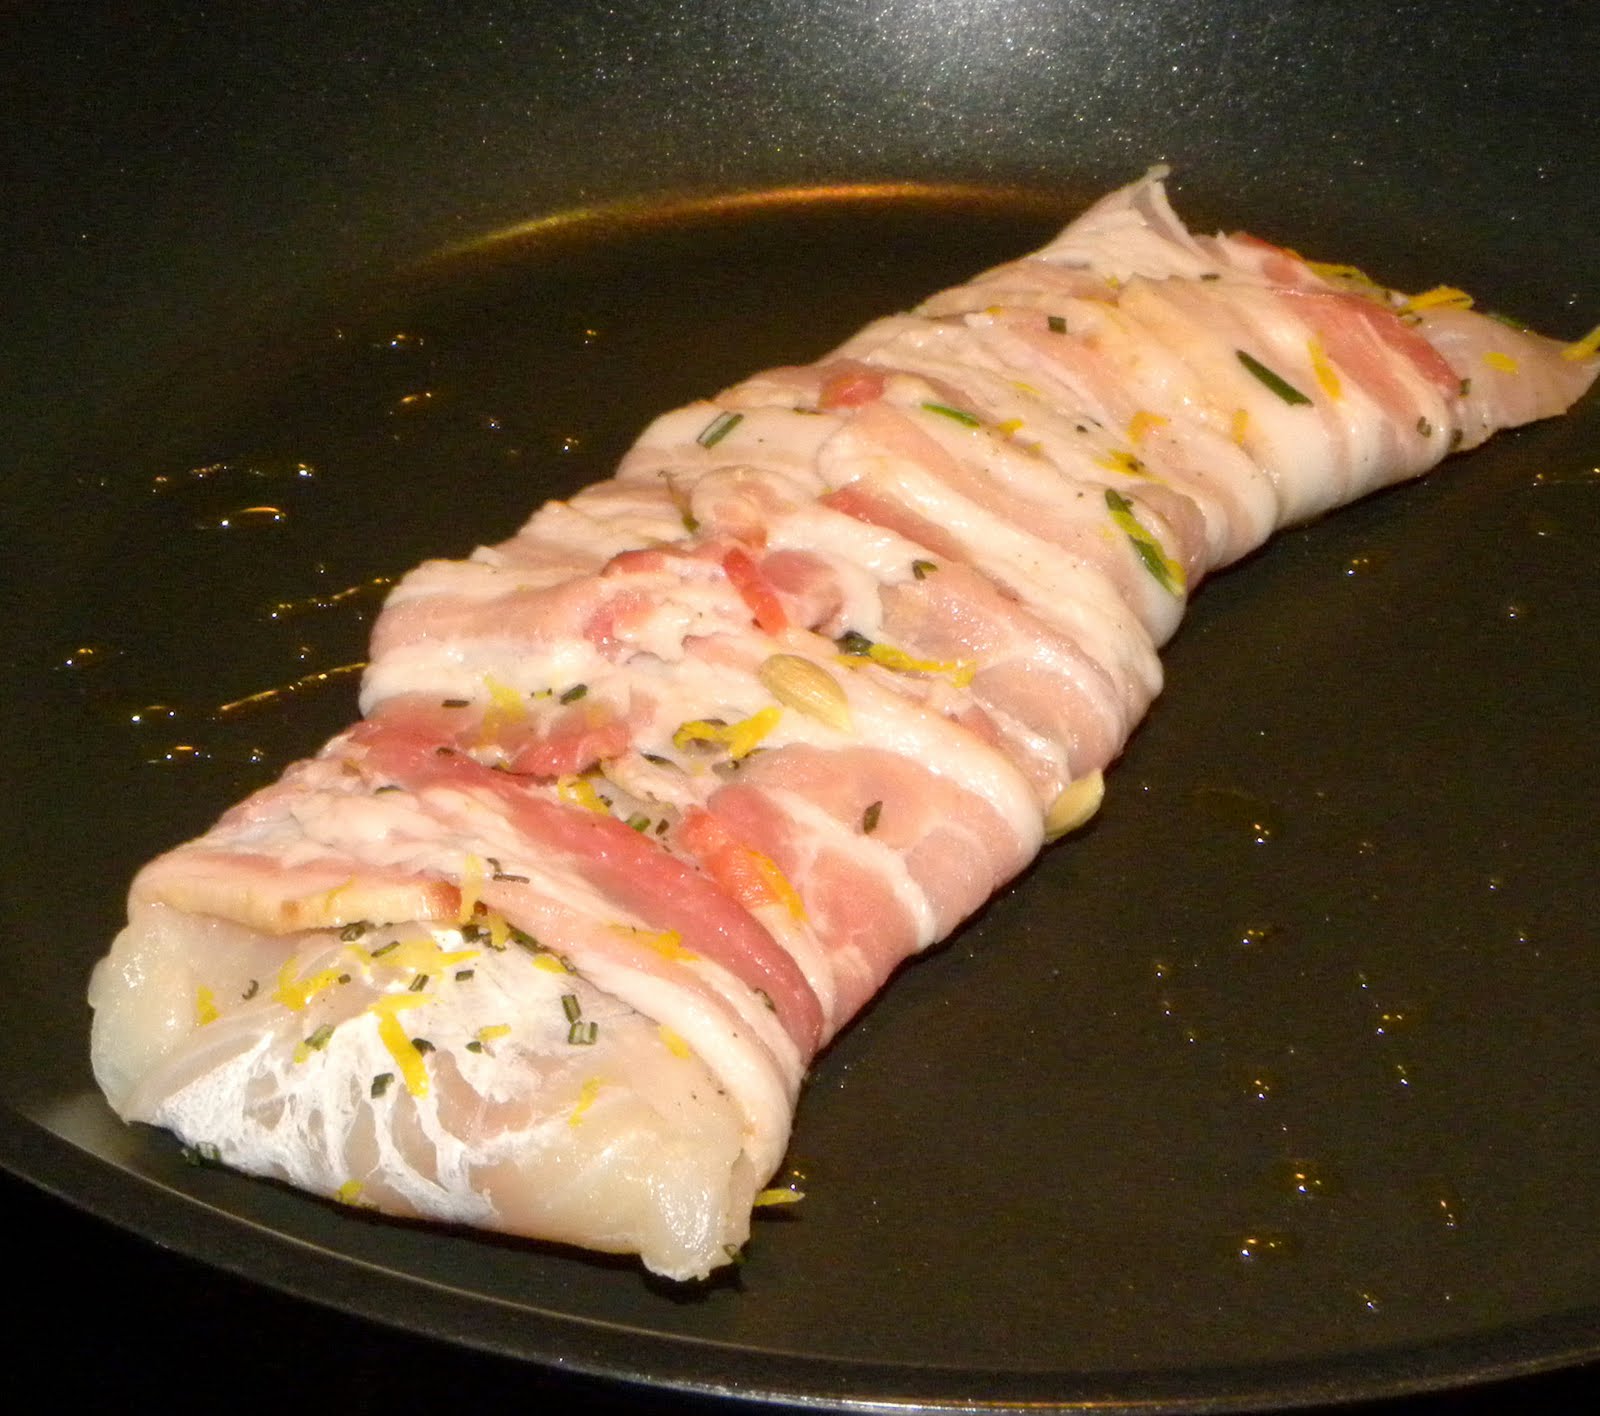
5. I then closed up the bacon slices over the fish. I consulted SB and he wanted a lot of bacon; however, if you look at the original recipe, you will see that the bacon is only wrapped around the middle section of the fish. I guess it can be up to you.

6. Here is where I made a mistake (actually 2), so please take note!

Mistake #1: You want to lightly heat an oven-proof frying pan, which I didn't think that I had. So, I thought: I'll fry it in this pan, and transfer it to an oven-proof (heated) dish to cook it. I recently found out that my pots are oven-proof, which would have worked better. Next time :)

In the end, I heated my frying pan, and cooked the fish for about 1 minute. You should have it over medium-low heat, and cook just the underside of the fish/bacon for 1-2 minutes.

Here is where I made Mistake #2: You need to place the fish bad-side down (i.e., where the bacon is fused, you want that to be on the bottom.. You'll see why in a few pics!).

7. I transferred it to the heated dish (don't do this! It's much better to cook the fish in the same pan as you fried it)


8. ... and placed it in the oven for 10-12 minutes (do not overcook!). You can see the bacon problem from this picture. While the fish was in the oven, I prepared the asparagus by steaming for about 5 minutes and mixing the lemon juice with some mayonnaise and pepper. I just added mayonnaise until I got the flavour I wanted.

9. I then served it with lightly steamed asparagus with lemony dressing.


10. I also added a side of home-made green beans (blog entry to follow).


Overall, SB really enjoyed this meal. However, I could really make some improvements to my technique by making sure the bacon was bad-side down and cooking it in the same pan. I would even recommend cooking it on the stove for 2 minutes because in the end the bacon needed to be a bit more cooked. I will definitely try this one again and post any updates!

Veal Cutlets w/ White Wine Sauce

SATURDAY, FEBRUARY 20TH, 2010

3.5 stars (out of 5 - just needs less salt!)

I found this super simple recipe recently, and decided to test whether it really was as easy as it seemed! It was a pretty good, super-quick recipe, but needed a bit of adjustment (see notes below).

Ingredients (makes just over 1 cup wine sauce; adjust accordingly):

Veal cutlets (1-2 per person)
Flour
3 tbsp margarine*
2 tbsp flour
Salt, to taste**
Pepper, to taste
1 1/2 tsp bouillon (veggie or beef)
1 cup milk
2 tbsp white wine

{*Note. The recipe suggests using margarine, as butter will brown too quickly.}

{**Note. The original recipe called for salt, but I found it was too salty, so add with caution. I would suggest excluding the salt until the sauce is almost fully prepared, and then adding it to your taste near the end.}

1. First, I dredged the meat in flour. This gives it a crispier coating,when it cooks, which I like; however, this step is optional.


2. I then melted 1 tbsp of margarine in frying pan over medium heat. When it was hot, I added the meat, cooking to your preference of readiness. This was my chick'n version.


3. I set the meat aside on a heated plate, and kept warm. Using the same pan, I melted the remaining 2 tbsp of margarine over medium heat.


4. I then mixed the bouillon, flour, and pepper in a bowl...


5. ...and added it to the margarine, stirring it until it was smooth. This was a bit difficult, but I tried.


6. Finally, I gradually added the milk and wine, stirring constantly until it is bubbly and thickened. Even though I used skim milk, the mixture was very thick. However, I found it incredibly difficult to get all of the lumps out. In the end, it wasn't lumpy (enough to notice), but next time I think I will use my mini blender to make it easier on my arms.


7. I then drizzled some sauce on a warmed plate, placed the meat on top of it, and drizzled more sauce over top. We served with mashed potatoes. Sorry, no final pic!

Overall, this truly was a super simple recipe. The only difficulty was with the lumpy sauce, which we eventually worked out. The version of the sauce in the book was very salty, so I will try this again without the salt. I liked the ease at which the sauce thickened (sometimes I have a problem with this). As for the flavour, it was good, but not incredible. I actually think that a bit more white wine might kick it up a notch, so perhaps I will try that as well next time (at the risk of the sauce thickness). But there will definitely be a next time!

Meat (and Veggie) Lasagna

SATURDAY, NOVEMBER 28TH, 2009

3.5 stars (out of 5, with potential for 4.5 stars out of 5)*

{*Note. I was befallen with yet another cooking disaster... this one out of my hands! SB gave the final product 3.5 stars because we ended up with only the veggie version. He said that he would probably have given the meat one 4.5 stars. You may be asking: "What happened to the meat one?"... see below!}

This was a meal I had been planning to make for a long time. We had frozen ground beef in the freezer, and some extra in the fridge from burgers we had made last week, and I thought: a lasagna would be perfect to 1) use these ingredients, and 2) have leftovers for the weekend so that we don't have to cook each night. Well, it was a good idea; unfortunately, it did not turn out to last as long as I had anticipated. BTW, this is yet another recipe from PW from her blog: http://thepioneerwoman.com/cooking/2007/06/the_best_lasagn/

Ingredients:**

{**Note. These are the ingredients for a full-sized lasagna, as directed from PW. However, my pictures depict smaller versions (approx. half), as I only have a small convection oven that fits a 9" square pan.}

Meat sauce:

1.5 lbs. ground beef***
1 lb hot breakfast sausage (ground)***
2 cloves of garlic, minced
2 cans whole tomatoes
2 cans tomato paste***
2 tbsp dried parsley
2 tbsp dried basil
1 tsp salt

Filling:

3 cups cottage cheese (low fat)
2 eggs, beaten
1/2 cup grated Parmesan cheese (the stuff from the bottle)
2 tbsp dried parsley
1 tsp salt

Other layers:

1 lb sliced mozzarella cheese (real mozzarella, but pre-sliced!)
1 package lasagna noodles

{***Note. For my veggie version, I added 1 package ground round. For a full veggie lasagna, I would suggest adding two packages, which should be plenty. For the sausage, mine was not really ideal as it had an outer skin. However, I was able to break it up quite well. I am not sure where to get ground up sausage without the skin. Finally, if you are going to buy tomato paste, may I recommend another brand besides Hunt's? See below...}

1. First, I cooked the ground beef and sausage, with the garlic, over medium-high heat. I ended up switching to my wok, as I was afraid that the meat would overflow! As you can see, the sausage is a bit chunky here, so I broke it up as I cooked. As a vegetarian, this was probably one of the grossest things to cook :(


2. Once it was cooked and browned, you can see how much better the sausage mixed in. So, if you are unable to find the proper sausage, I think any hot Italian sausage will ultimately work.


3. PW recommends draining 1/2 the fat. Our meat was extra lean, but I still thought this was a good idea. I left about 1/3 of it in there.


4. Leaving it over the heat, I then added the whole tomatoes, tomato paste and the herbs...


5. ... unfortunately for me, and this recipe, I found this little gem in my can of Hunt's tomato paste. I say unfortunately because I had already added most of the can to my meat. Eggshell, anyone? Ewwwww...


This is what it looked like before I chucked it out :(


6. Having had to discard my meat dish (I'm sorry, but I couldn't let SB eat that - I have no idea how that shell got in there, where it had been, or how much I had missed. Not worth the risk!), I turned now to my vegetarian version. I was very lucky to have been cooking this at the same time, therefore having a back-up to the "Eggshell Debacle", but it is missing the sausage component/flavour. Oh well. You then simmer this meat sauce for 45 minutes, uncovered. I wasn't sure if the liquid would reduce from the tomatoes, so one suggestion I have is to not add the entire can of liquid with the tomato. This is what it looked like, all ingredients in the meat sauce.


7. As this simmered, I cooked the lasagna, rinsed in cold water, and set them out on a flat. surface You want it al dente.


8. I then made the filling by adding the cottage cheese to a bowl...


9. ...beating the two eggs, and stirring them in with the cottage cheese.


10. Finally, I added the Parmesan cheese...


11. ... along with the parley flakes and salt.


12. I stirred the mixture well, and set it aside until the meat was finished simmering.


13. Once everything was ready, we were on to the layering part. First, SB made me butter the bottom, to prevent sticking. Then we layered, starting with a layer of noodles (overlapping a bit)...


14. ... followed by about 1/2 of the cottage cheese filling, evenly spread...


15. ... and half of the mozzarella cheese (note: we didn't have enough to cover the entire layer, and it was still very cheesy!).


16. We then topped the cheese with just less than half of the meat sauce, spread evenly...


17. ... and repeated the process, starting with the noodles and the rest of the cottage cheese mixture...


18. ... followed by the remainder of the cheese, and topped by the meat sauce.


19. Finally, we topped it off with a generous layer of Parmesan cheese (note, this is the shredded stuff that comes in a bottle).


20. We then cooked it at 350F for 30 minutes until bubbling (although this took a bit longer in our oven!!), and let it sit for a few minutes before serving.


Overall, this was a delicious lasagna, and we ate it all by the afternoon the next day. It was very disappointing to have to throw out the meat one, but I will definitely try it again (perhaps with another tomato paste brand!). We both really enjoyed all of the flavours, and the ingredients were things that I had in my household regularly, so it wasn't a stretch. One final thing that I liked, was that it was a no stress recipe. You just kinda cook everything at your own pace.